Lay-In Circadian Sky Arrays: New Installation Manual and Regress Support in Circadian Lab
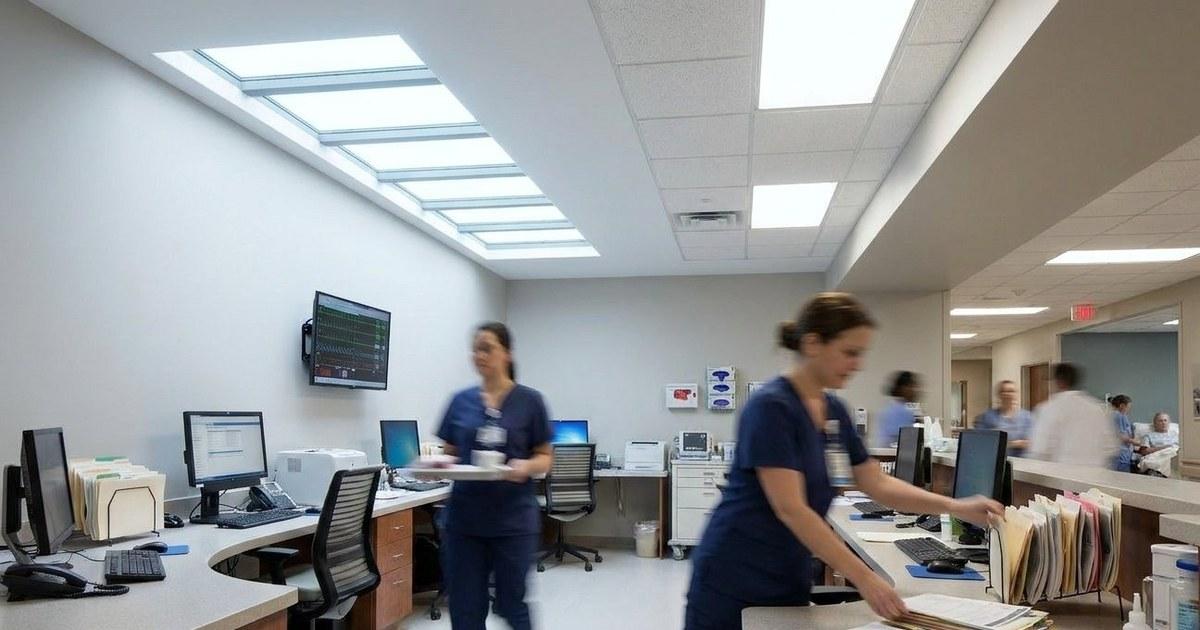
Some of the most convincing artificial skylights sit deep. Recessing the luminous window a few inches above the finished ceiling, behind a crisp drywall reveal, gives the same visual cue as a real skylight well: you see a glowing opening in the ceiling, not a fixture on it. We call this detail the drywall deep regress lay-in array, and two new resources make it much easier to specify and build.
A lay-in installation manual
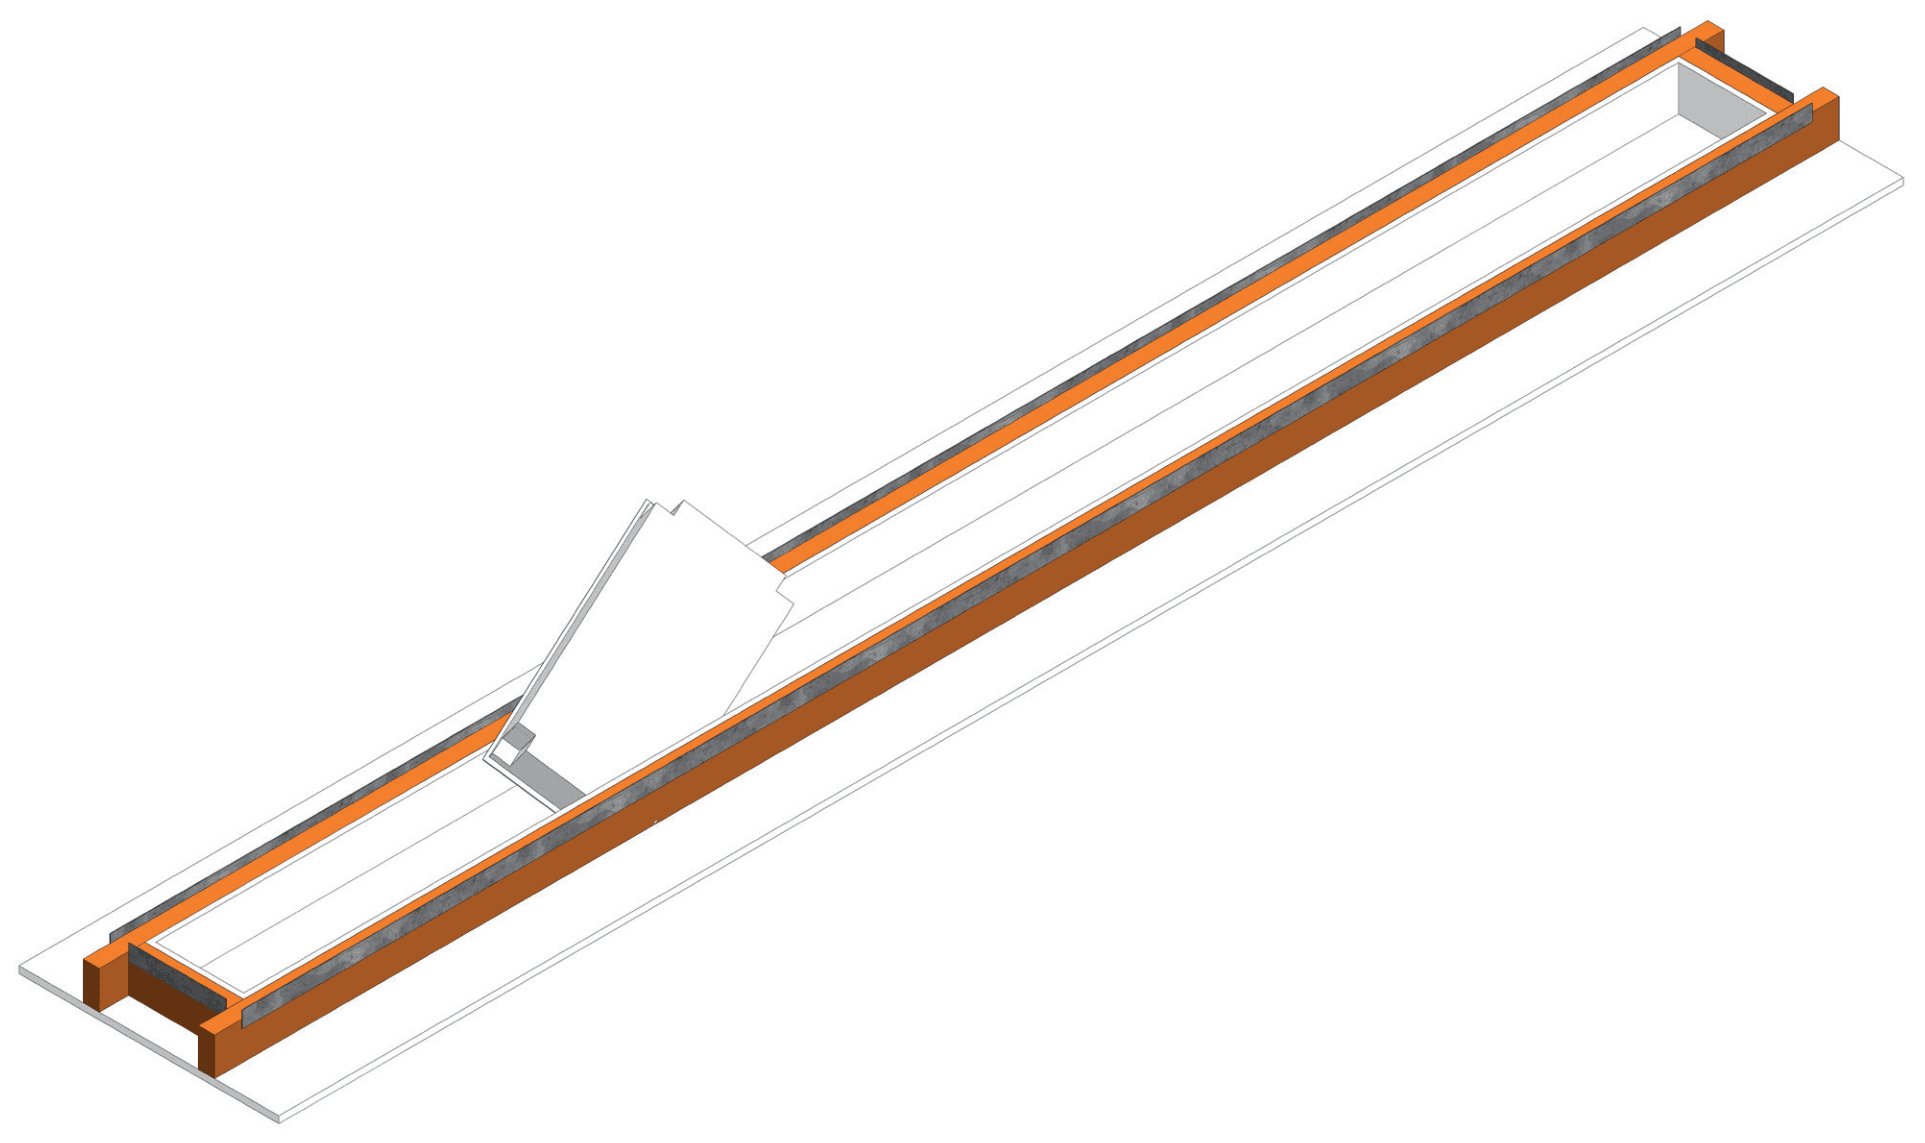
The Circadian Sky Installation Manual (RG mounting) walks through the whole detail: the coffer framing and drywall build-up, perimeter supports, worst-case clearance drawings with real dimensions, and the lay-in sequence itself. Fixtures rest in a site-built coffer just like lay-in ceiling tiles, with no fixture-side hardware, so they stay removable from below.
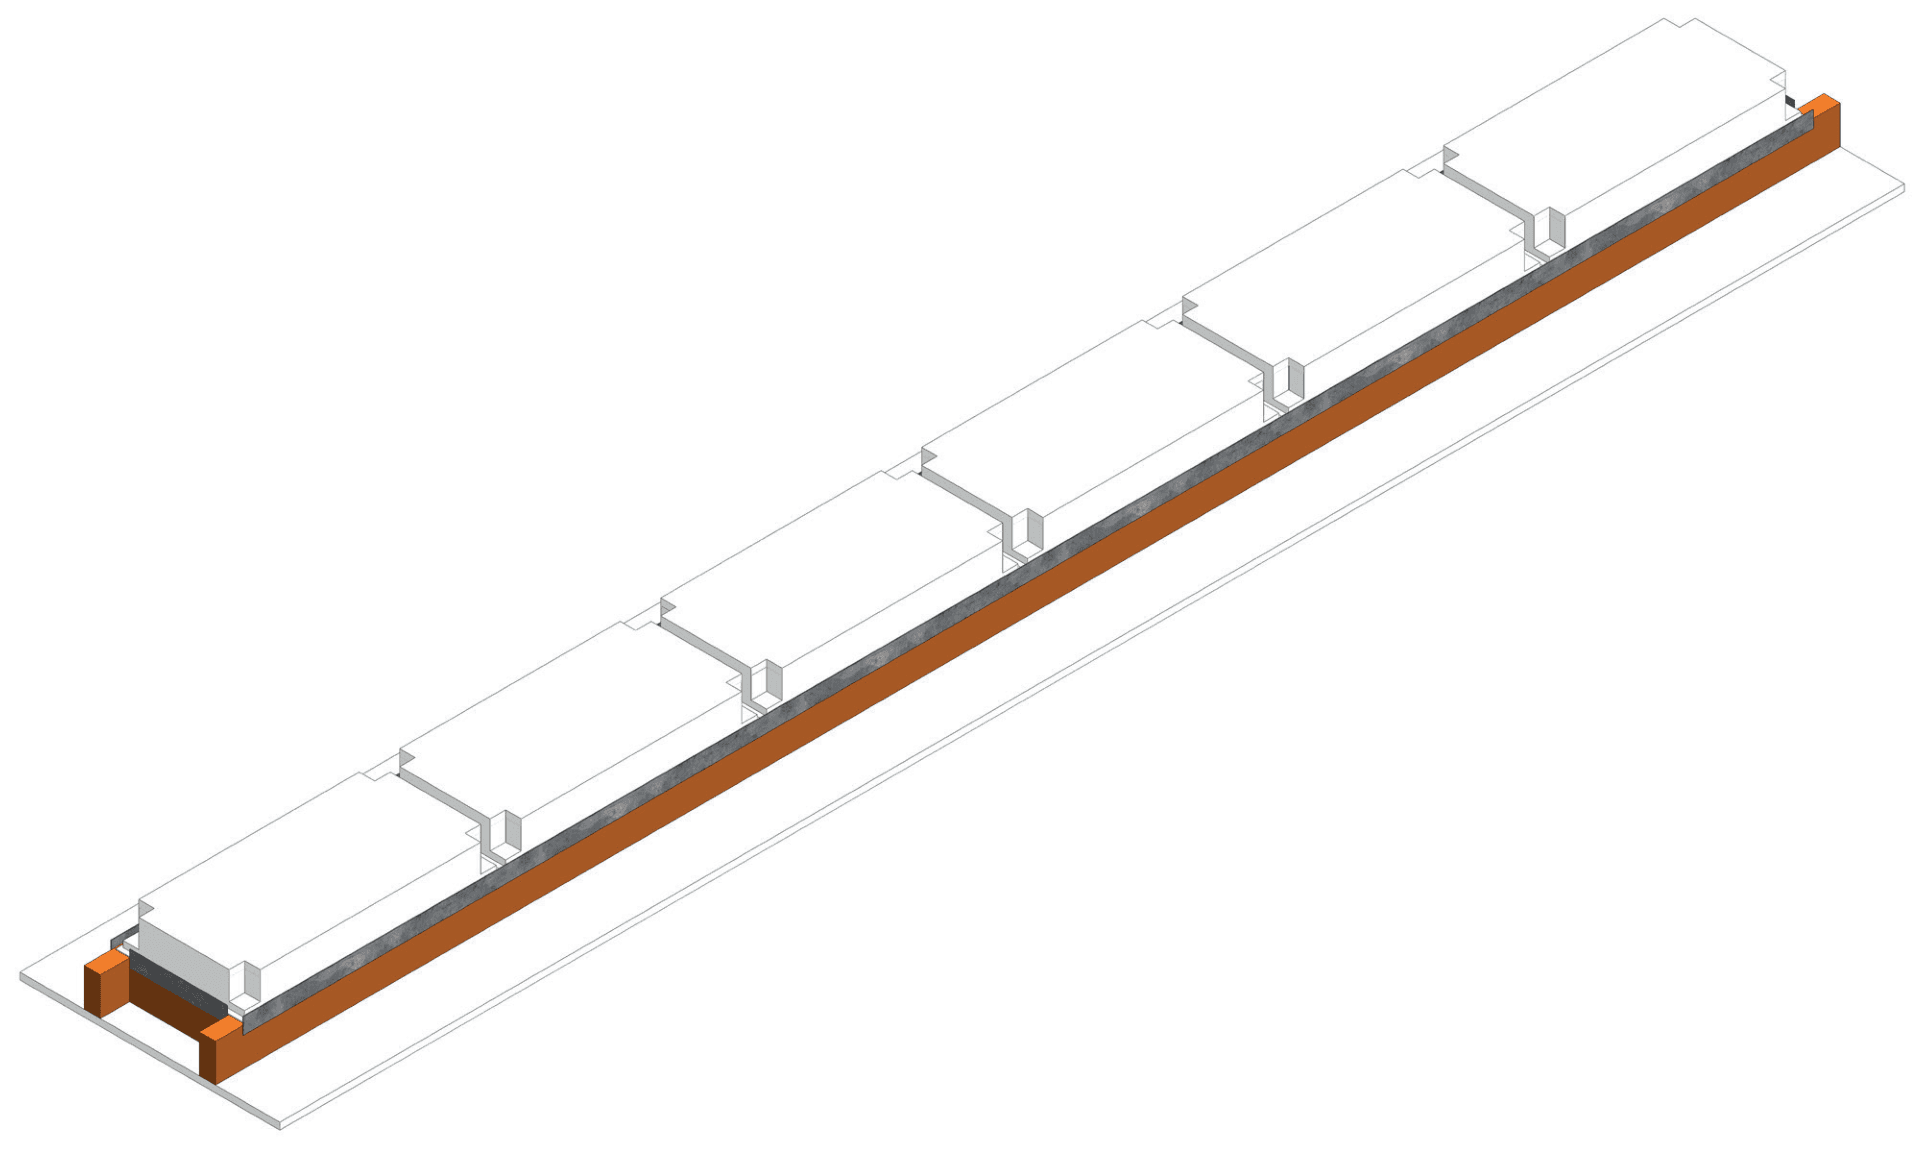
The manual is not CS12-specific. Every Circadian Sky size can be installed the same way, butted end to end for a narrow linear strip or side by side for a wider skylight panel, and the manual links interactive Circadian Lab previews of all nine configurations, each in 3D and as a 2D plan.
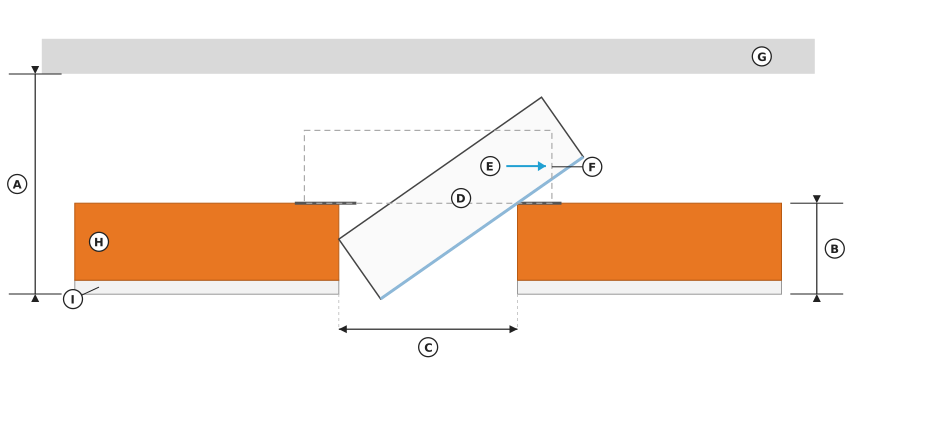
How much plenum space do you actually need?
The housing is wider than the window opening, so it only passes through the coffer tilted. The intuitive answer, lift the fixture clear and rotate it flat above the coffer, demands a surprising amount of headroom. The better answer is the slide-through technique: thread the fixture up at a steep angle, then level it out while its lower edge stays dipped in the opening, sliding sideways over the ceiling as it flattens.
Modeled rigorously, that technique cuts the required clearance roughly in half for the larger fixtures. With the manual's example build-up (2×4 framing on edge plus 5/8" drywall, a 4-1/8" regress), the minimums including a 1" working margin come to:
- CS12 / CS14 (1 ft across): at least 10" above the finished ceiling
- CS154 (1.5 ft across): at least 9-1/2"
- CS22 / CS24 (2 ft across): at least 9-1/2", and counterintuitively the big fixtures are the easy ones, because their window openings scale up while the housing stays 3-5/16" deep
Deeper coffers need more room almost inch for inch; the rule of thumb is regress depth plus about 6". The manual carries the full matrix for 2×4, 2×6 and 2×12 build-ups, plus to-scale drawings of the worst-case position for each size.
Watch the maneuver: interactive 3D simulation
The clearance numbers come from a geometric solver, and the best way to trust a solver is to watch it. The simulation below plays the full insertion automatically. Pick any fixture size, either butting orientation, and a framing depth; drag to orbit, and stop it on the worst point to read the live dimension to the structure. When the animation is stopped you can even export the frozen frame as STEP, DXF, STL or GLB with true dimensions.
Regress support in Circadian Lab
The same detail is now a first-class citizen in Circadian Lab, our free lighting design tool. Set a fixture's mounting to Lay-in (regressed) and the engine builds the real coffer geometry: the ceiling splits around the aperture, coffer walls rise to the regress depth, butted fixtures share one continuous slot, and the radiosity calculation bounces light off the coffer walls exactly the way the built detail does. mel-EDI, illuminance and glare results all reflect the recess.
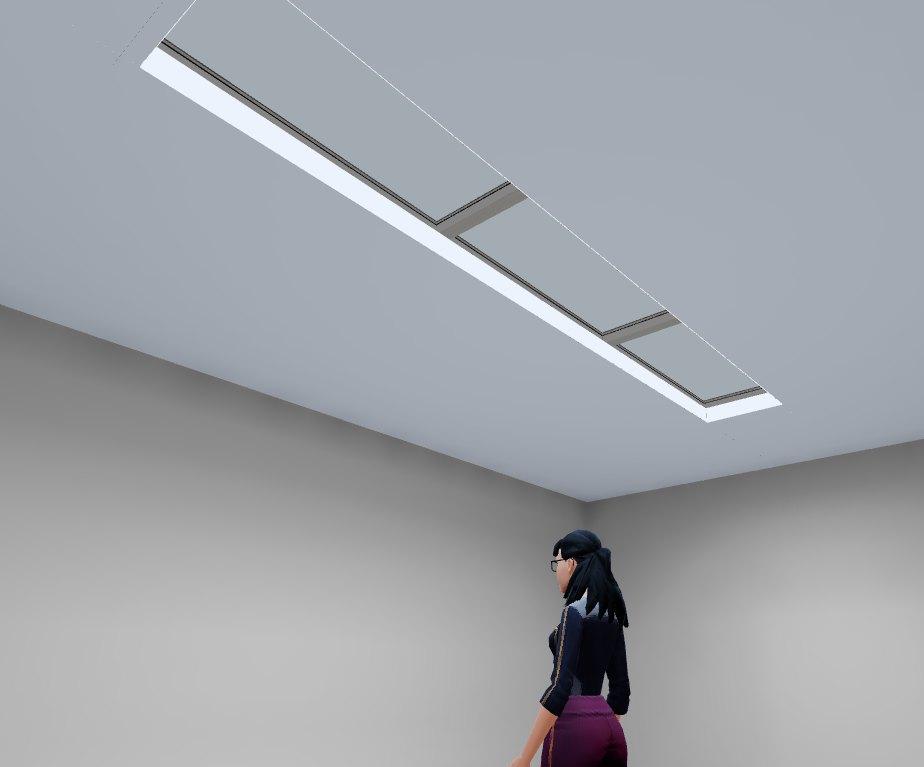
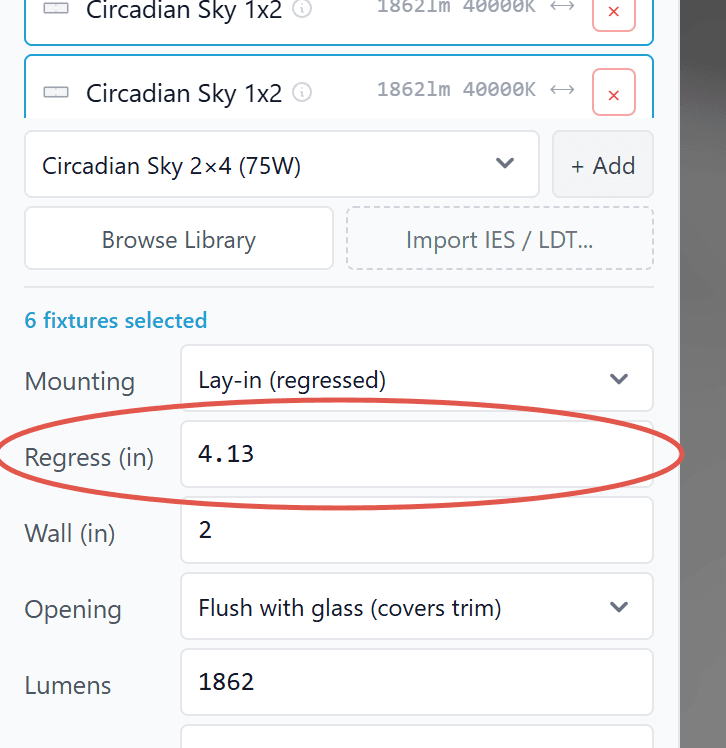
The regress depth is a live input. Every lay-in preview linked from the manual opens with the array selected, so the Regress field is one click away: type a deeper or shallower value and the geometry, the lightmaps and the metrics all update.
Try it now with a few ready-made lay-in scenes. A CS24 row recessed at the manual's 4-1/8" regress in 3D, the same room as a 2D plan with mel-EDI contours, or the dramatic version: the same array in a deep 2×12 coffer at 11-7/8" regress, where the coffer walls carry a visible share of the light. Or browse all nine size and orientation combinations below: each opens an interactive Circadian Lab room with the lay-in array installed, in 3D or as a 2D plan.
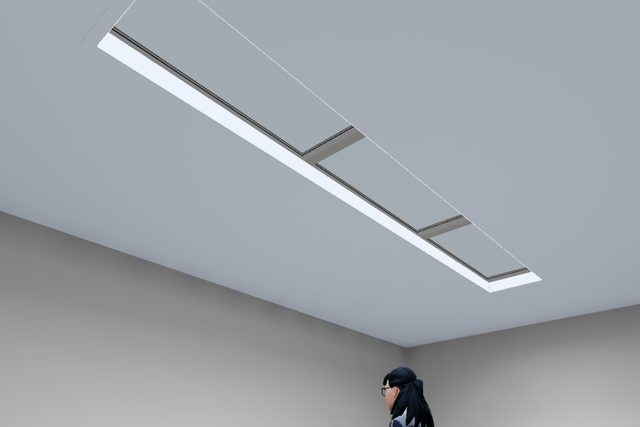
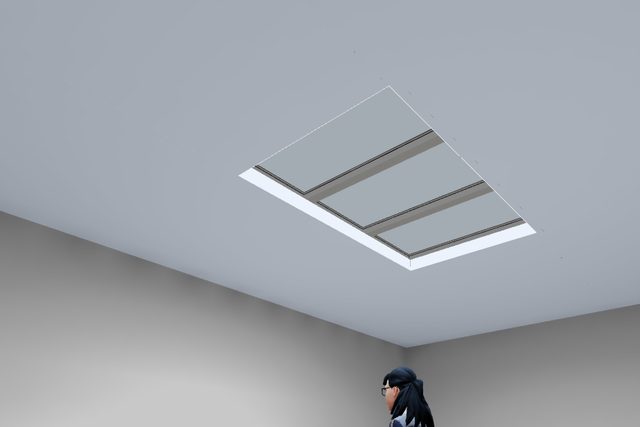
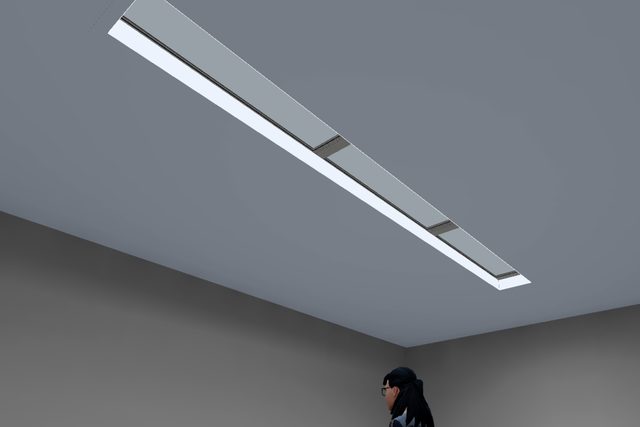
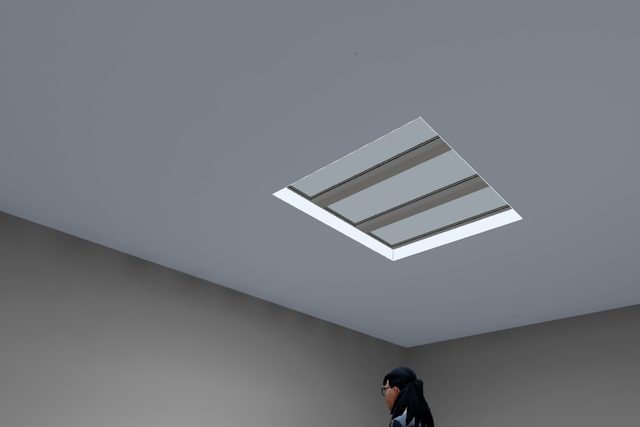
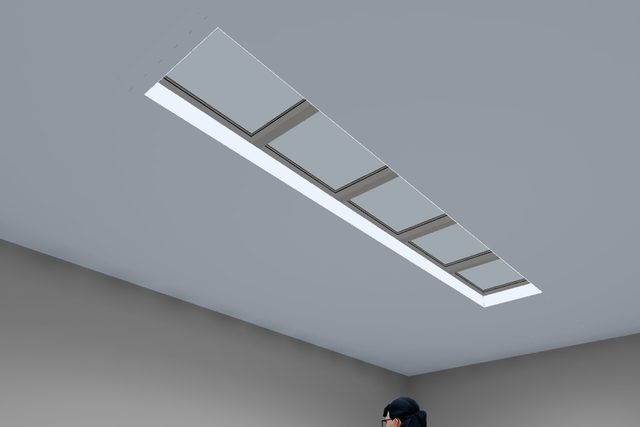
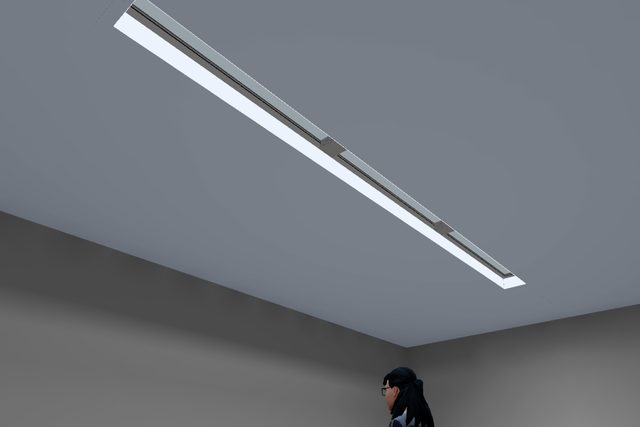
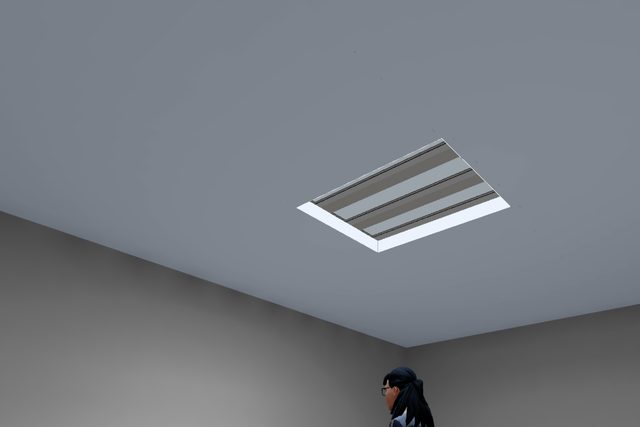
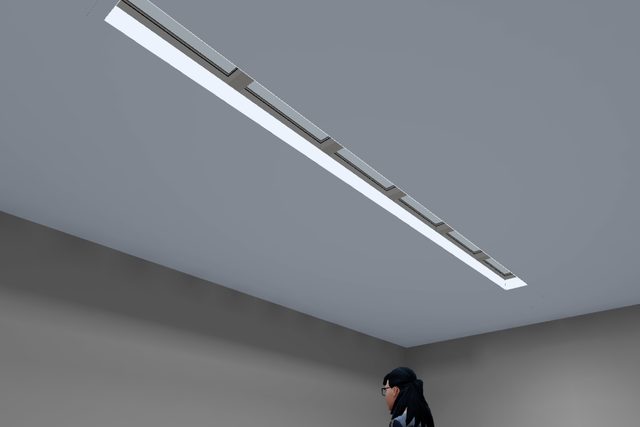
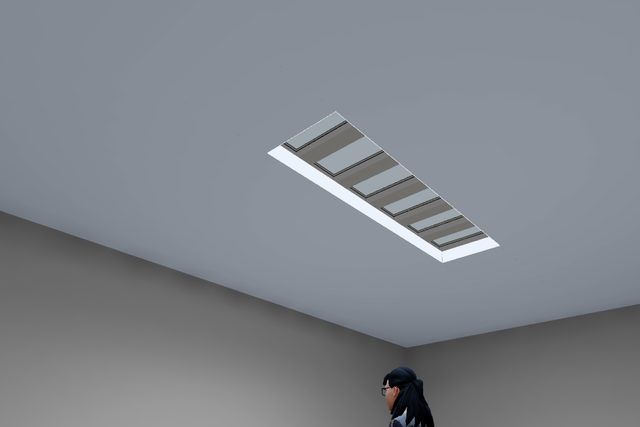
Where to start: read the lay-in installation manual, browse the gallery for the look, and model your own room in Circadian Lab. The manual is also linked from the downloads page.
Published by Innerscene on 2026-07-12